Being a Hedgehog - Part One
This is part of my "Blogging my Homework" blog post series, the introductory post can be found here.
Caveat emptor: any errors or misunderstanding around concepts will almost certainly be my own rather than my employee (Made Tech). This is after all my own study and mistakes do occur during learning.
Web App Dev Core Skills Level 1 aka Hedgehog
This core skill is based around as the name suggests Web Application Development. It's focussed around the React framework because of this our chosen framework for front-end work at Made Tech.
The first level of the Web Application Development with React core skill primarily deals with setting up a new project that is ready for production use.
The core skill assessment is split into two parts: a practical demonstration (Application) and a theoretical (Understanding) in a Q & A format. I have also split the blog posts accordingly so the first part will be the practical demonstration.
Assumptions
You have Node and Docker installed.
Our application
As part of the core skill, you are expected to work on an application. My choice was to create a guiding breathing app. Why this choice of app? Well sometimes, you need to take a breather when it all gets a bit much.
More details of the will follow, but for now, it should be thought of in terms of the following:
- UI
- Has a settings panel that allows you:
- to define intervals between breathing in and out, and holding the breath.
- set the volume of sounds
- Has a timer to define how long you wish to have you're guided breathing session.
- Has a settings panel that allows you:
- Behaviours
- Has a countdown timer
- Has visual and audio cues for when for guided breathing
Setup
- Create our app using
npx create-react-app breathe - Enter our app
cd breathe - Start our app
npm start
npx is a handy way to install and run create-react-app.
Application
The practical part of the assessment has six areas where you will be assessed. I've created a header for each area.
Has created an application that is independent of the node install on the candidate's machine
Here we are being assessed on be able to provide a reproducible build. Docker is our prefer way of doing this, there are other alternatives.
FROM node:10
WORKDIR /app
COPY package.json ./
RUN npm install
CMD ["npm", "start"]
The general idea behind this Dockerfile is to use define an image with Node, copy the package.json, install its dependencies and start the application.
Tip: During the early stages of prototyping I like to add —verbose to my npm install
Info: I’ve provided more information about the Dockerfile syntax in the references section below.
Tip: If your application has many Dockerfiles or related scripts, you may find it prudent to keep application and Docker artefacts separate.
Finally, we build and test our dockerized application.
docker build -t . <DOCKER_ID/MY_APP>
docker run -it --rm -p 3000:3000 -v ${PWD}/public:/app/public -v ${PWD}/src:/app/src <DOCKER_ID/MY_APP>
Once the app has finished running, you can open the site using http://localhost:3000
Tip: if you’ve done any kind of web development, you’ll have noticed that port 3000 is prevalent. Make sure you flush cookies associated with this address to avoid unexpected behaviour.
You’re probably wondering why we’re using volume mounting (-v) this is to enable hot re-loading (which is a requirement).
The docker run feels a bit clunky, so let’s use a docker-compose.yml file to simplify docker invocation.
version: '2'
services:
  web:
    build: .
    volumes:
      - ./public:/app/public
      - ./src:/app/src
    ports:
      - "3000:3000"
Again we’ll re-test.
docker-compose build web
docker-compose run --rm --service-ports web
References
- Dockerizing a Node.js web app | Node.js
- Dockerfile reference | Docker Documentation
- Compose file version 2 reference | Docker Documentation
Has a make recipe for serve, which runs the application in development mode
Whilst command history is great, you want the process of building and starting of your app to be a zero effort. To do this at Made Tech we utilise Makefiles.
PHONY:docker-build
docker-build:
    docker-compose build web

PHONY:serve
serve:
    docker-compose run --rm --service-ports web
In case you’re wondering why we opted for these target names, (docker_build and serve) it’s because we decided to define a standard for our Makefiles. This is to ensure that any engineer should be able to know without any documentation about how to build, serve and test an application. You can see our standard for Makefiles in our Requests of Comment repo: Makefile Standards.
If you’re wondering why we didn’t just stick our targets in package.json, it’s because not all our projects are node based. Whereas a Makefile can always exist in any solution.
Again we can test both these targets by the following invocations:
make docker_build
make serve
Has a make recipe for test, which runs the tests for the application
Time to add test to Makefile. Our Makefile now looks like this:
PHONY:docker-build
docker-build:
    docker-compose build web

PHONY:serve
serve:
    docker-compose run --rm --service-ports web

PHONY: test
test:
    docker-compose run --rm web npm test
Tip: If you want a single shot test run i.e you do not want to use the watch process, then add an environment variable called CI with the value true to web section of docker-compose.yml
To test our target test we type make test
Has a sandbox environment which allows them to quickly prototype components
For this requirement, we install Storybook.
npm i -g @storybook/cli
storybook init # assumes we're still in our app's folder
We also add the following scripts to package.json
    "storybook": "start-storybook -p 9009 -s public",
    "build-storybook": "build-storybook -s public"
References
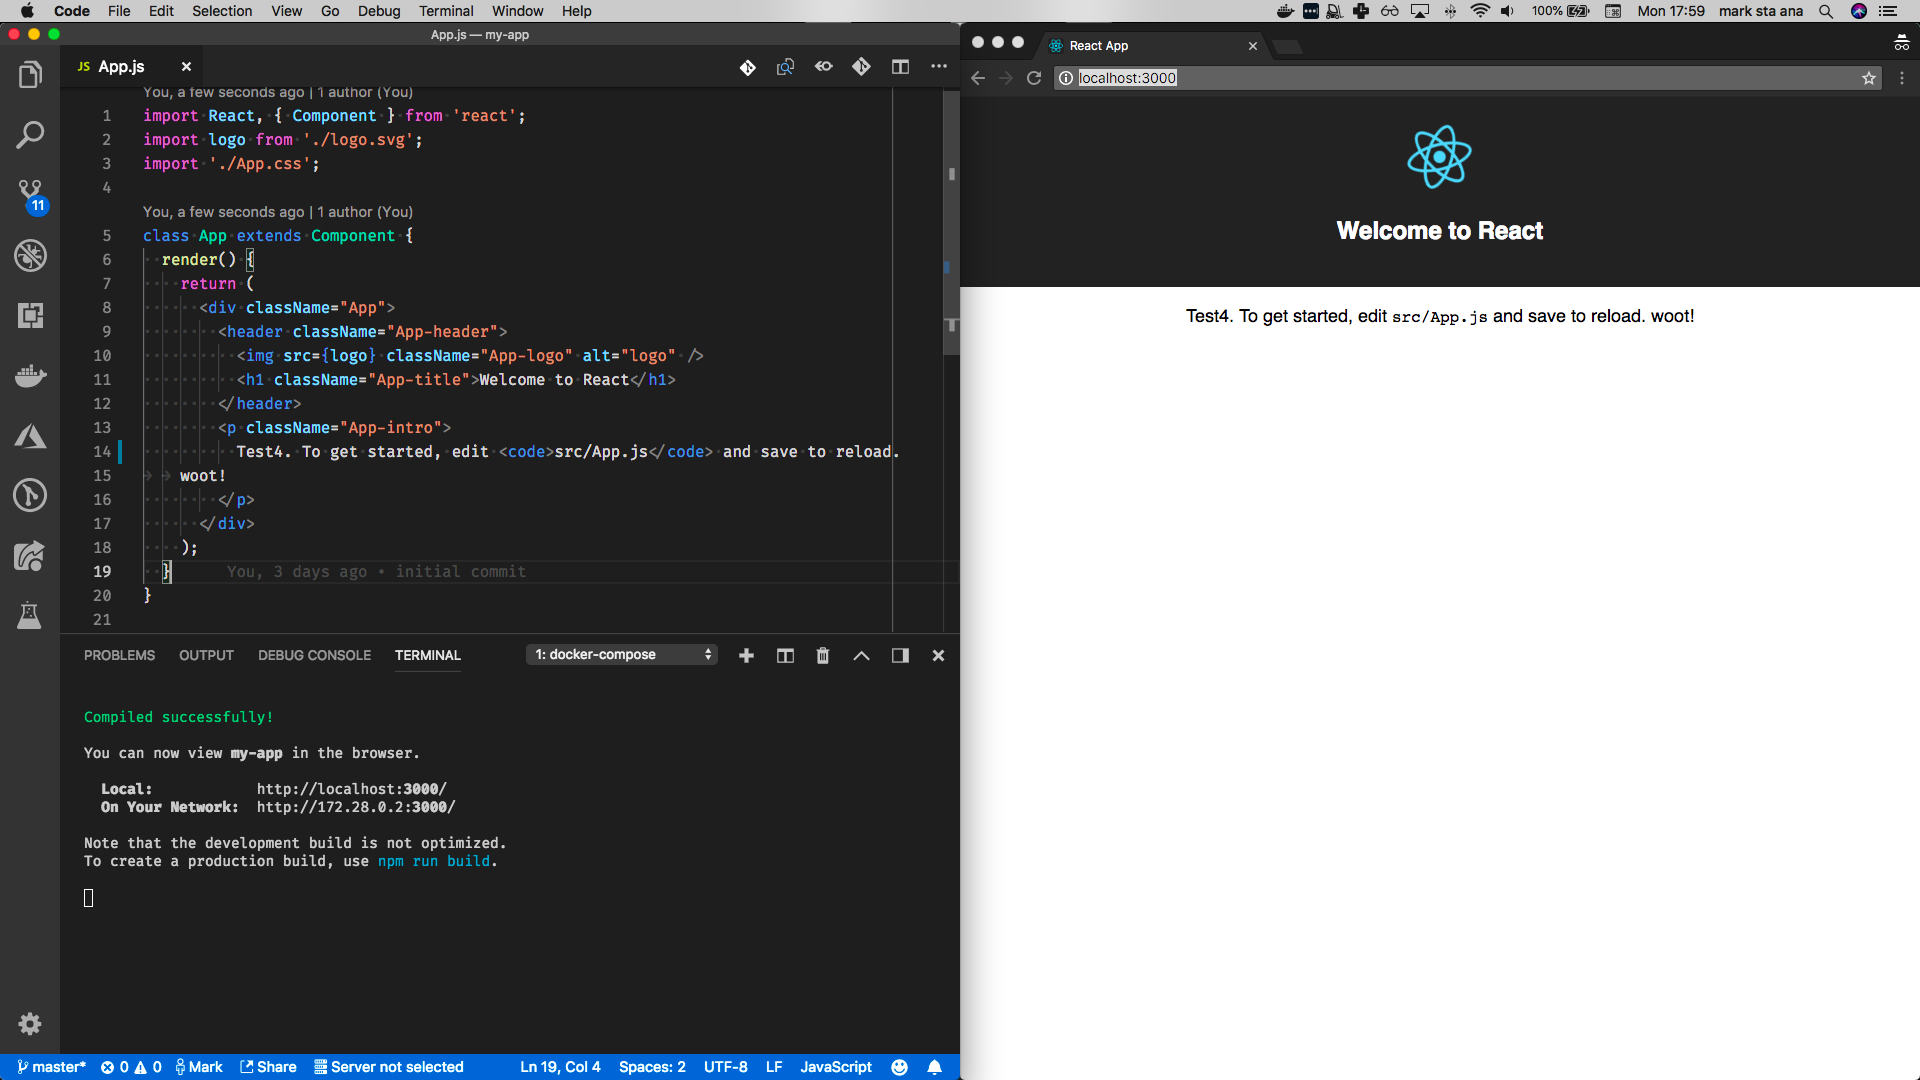
Has the ability to hot-reload based on changes
You get this out of the box with React, this is done via react-scripts. If you’ve got the started via make serve, you can see this being demonstrated by changing the text in src/App.js
References
- Disabling opening of the browser in server start · Issue #873 · facebook/create-react-app · GitHub
- Configure create-react-app without ejecting ⏏ – Kitze – Medium
- create-react-app/README.md at master · facebook/create-react-app · GitHub
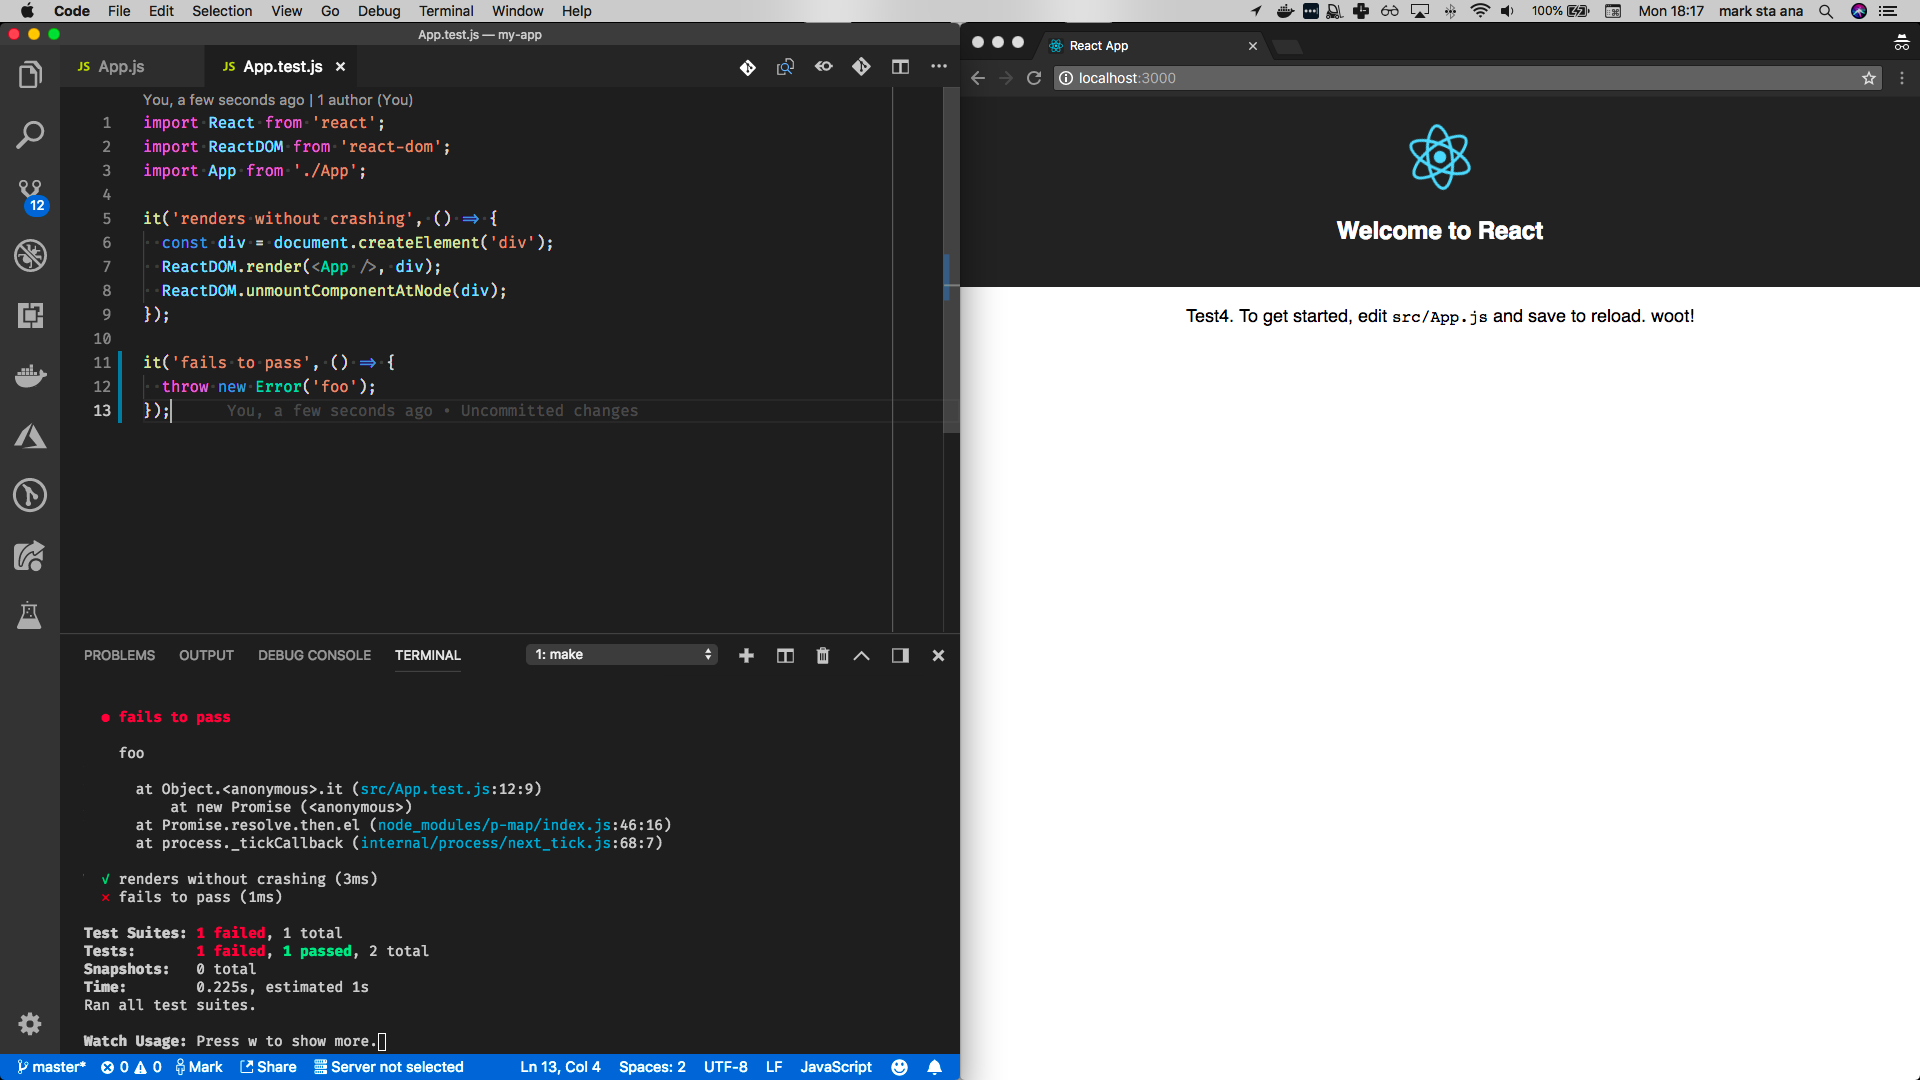
Has a failing test that appears when running make test
We can write a failing test by throwing an exception, which causes the test to fail immediately!